


Mercedes unibody repair demands meticulous care, using OEM bonding agents and adhesives to maintain structural integrity. Proper preparation, including decontamination and primer application, ensures durable repairs matching original finishes. The process involves inspecting, cleaning, applying OEM products, and potentially professional sandblasting for severe cases, followed by panel repair or replacement.
Mercedes unibody repair is a specialized process requiring precision and the right materials. The complex, yet lightweight structure demands OEM bonding agents and adhesives for structural integrity. This article delves into the intricacies of Mercedes unibody design, highlighting its fragility. We explore the critical role of original equipment manufacturer (OEM) bonding agents in achieving robust repairs. Additionally, a step-by-step guide is provided to ensure professionals can master the art of unbody repair using adhesives effectively.
- Understanding Mercedes Unibody Structure and Its Fragility
- The Role of OEM Bonding Agents in Effective Repairs
- Step-by-Step Guide to Unbody Repair Using Adhesives
Understanding Mercedes Unibody Structure and Its Fragility
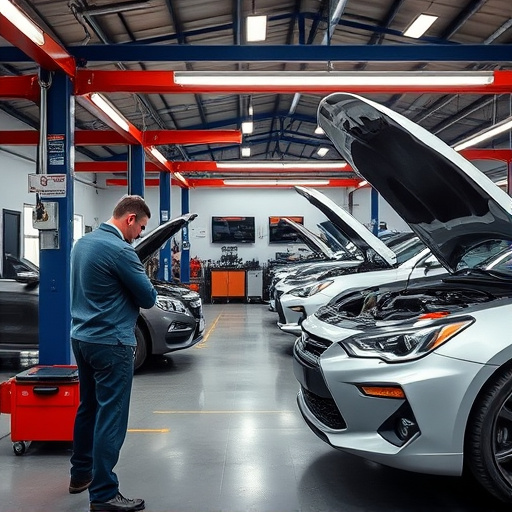
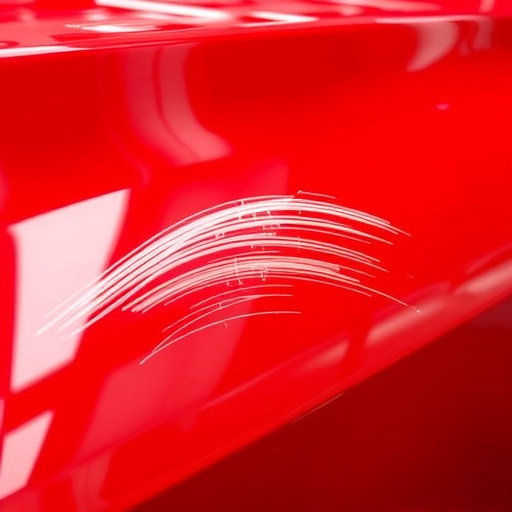
The Mercedes unibody is a complex structure designed to provide both structural integrity and passenger safety. Its intricate network of metal panels, beams, and components is meticulously engineered to absorb and distribute impact energy during a collision. However, this very fragility necessitates meticulous care in any repair process. Even minor damages, such as car scratches or small dents, can compromise the unibody’s performance if not addressed properly. This highlights the importance of Mercedes unibody repair, which requires precise techniques and specialized tools to ensure structural integrity without compromising safety standards.
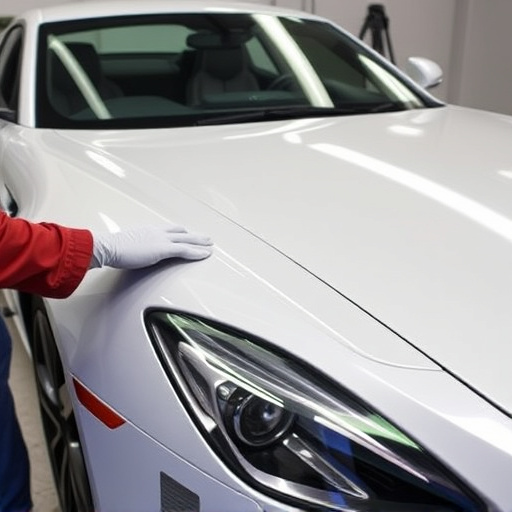
When it comes to repairing a Mercedes unibody, using original equipment manufacturer (OEM) bonding agents and adhesives is paramount. These products are designed specifically for Mercedes vehicles, ensuring compatibility and strength. Car dent repair and car scratch repair techniques must be adapted to the unibody’s unique construction, considering factors like panel thickness, material composition, and corrosion prevention. Skilled technicians understand that proper preparation, including surface decontamination and primer application, is crucial to achieving a durable repair that matches the vehicle’s original finish, whether it involves car paint repair or more intricate structural components.
The Role of OEM Bonding Agents in Effective Repairs
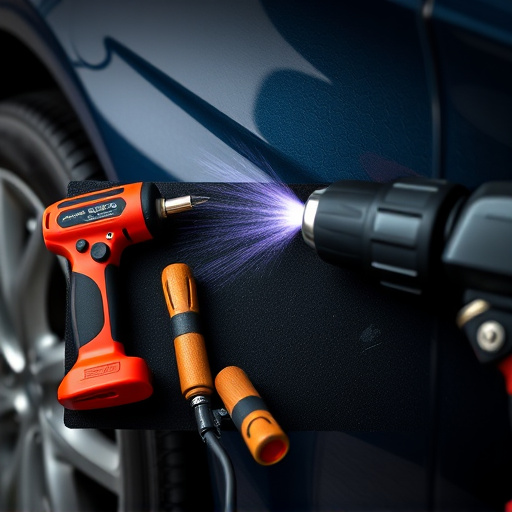
When it comes to Mercedes unibody repair, the use of Original Equipment Manufacturer (OEM) bonding agents and adhesives plays a pivotal role in ensuring structural integrity and long-lasting results. These specialized products are designed specifically for the intricate processes involved in vehicle repair services, particularly when addressing issues like bumper repair or dent removal. The precision and quality they offer are unmatched, making them indispensable for achieving seamless and durable repairs.
OEM bonding agents act as a crucial bridge between the damaged components and the replacement parts, providing an effective bond that can withstand the rigors of everyday driving. Their advanced formulations guarantee a strong hold, ensuring that the repaired areas perform just like the original factory-fitted parts. This is especially critical for maintaining the vehicle’s overall structural stability, which is essential in preventing future damage during routine operations such as dent removal or bumper repair.
Step-by-Step Guide to Unbody Repair Using Adhesives
Unbodying a Mercedes for repair may seem daunting, but with the right approach and materials, it can be accomplished efficiently. Here’s your step-by-step guide to successfully repairing a Mercedes unibody using OEM bonding agents and adhesives:
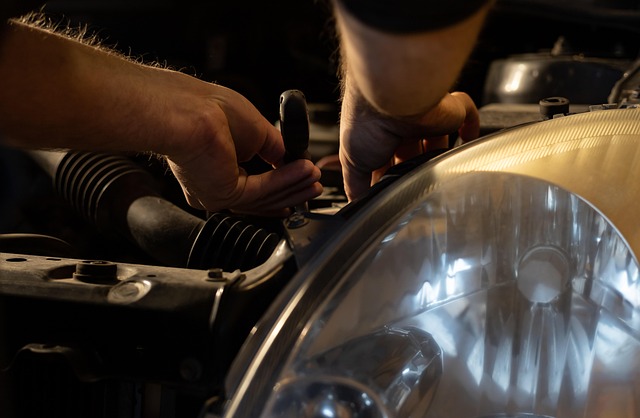
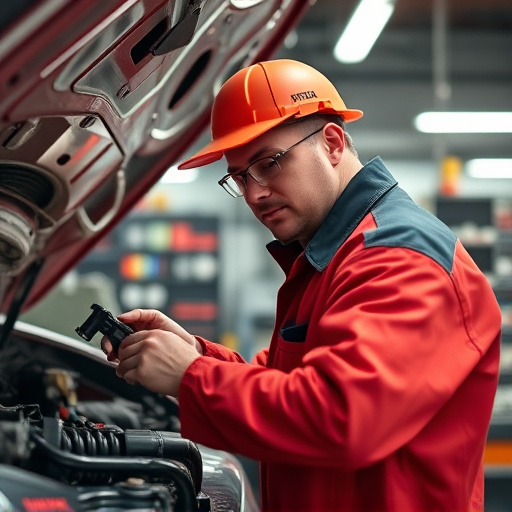
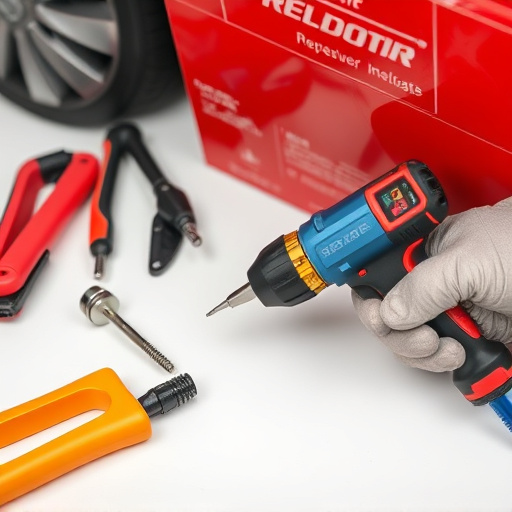
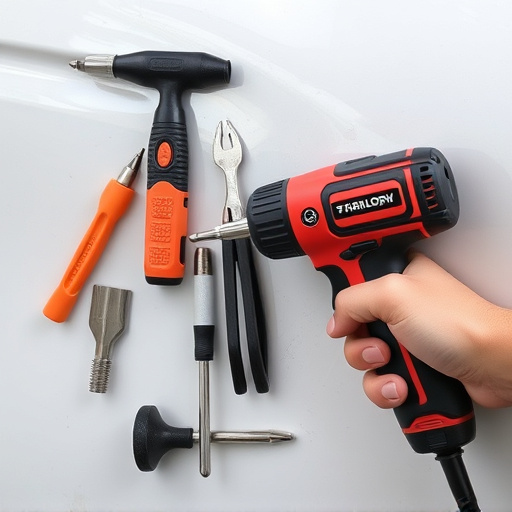
1. Preparation: Begin by thoroughly inspecting the damage on your Mercedes’ unibody. Remove any debris and ensure the surface is clean, dry, and free of grease or oil. This meticulousness ensures that your adhesive bond will be as strong as possible. Gather all necessary tools and materials, including OEM bonding agents specifically designed for Mercedes vehicles. Remember, using the right adhesives is crucial for long-lasting repairs.
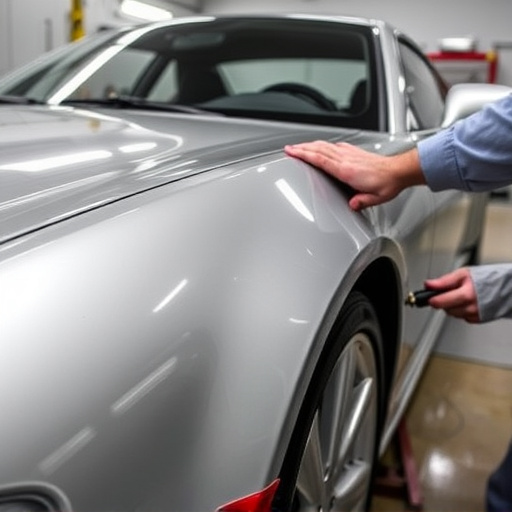
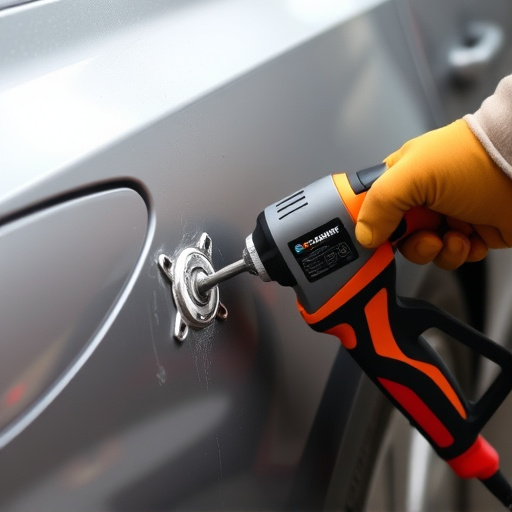
2. Surface Preparation (Detailed Cleaning): While ensuring the surface is clean, pay special attention to using the appropriate primers and undercoats recommended by Mercedes for optimal adhesion. For severe cases, consider professional sandblasting to etch the metal, creating a rougher surface that allows the adhesive to bond better. This step might require tire services or car repair expertise for complete removal of damaged panels and subsequent reattachment. After cleaning, allow the surface to dry completely before proceeding.
Mercedes unibody repair requires a meticulous approach, especially considering the intricate structure and high standards of these vehicles. By utilizing original equipment manufacturer (OEM) bonding agents and adhesives, technicians can achieve precise and durable repairs, preserving the vehicle’s structural integrity. Following a systematic process, as outlined in this guide, ensures that Mercedes unibody repairs are performed to a like-new condition, catering to the vehicle’s reputation for excellence.